
The Meldrum Church Christmas Tree Project runs throughout December and is now in its fourth year. Our village church is decorated with trees contributed by local community groups, raising awareness, appealing for volunteers or just showing we exist!

The first year my local knitting group, The Naughty Knitters, contributed a tree was 2022 - and it was made entirely from pompoms!

My lovely late father-in-law made this tree, with its broom handle trunk and dowling branches, ages ago for me when I used to help out at Sunday School.
.jpg)

We'd more time to prepare for Christmas 2023 and the knit group started knitting these mini Santa hats well ahead of time. They're designed to fit over a Fererro Rocher chocolate making cute, edible Christmas ornaments. Small amounts of leftover wool in red, green and white were knitted up. By the end of November we had collectively knitted over 100! Some required a little finessing so I attached hanging loops, sewed on jingly bells and glued on tiny pompoms as required.


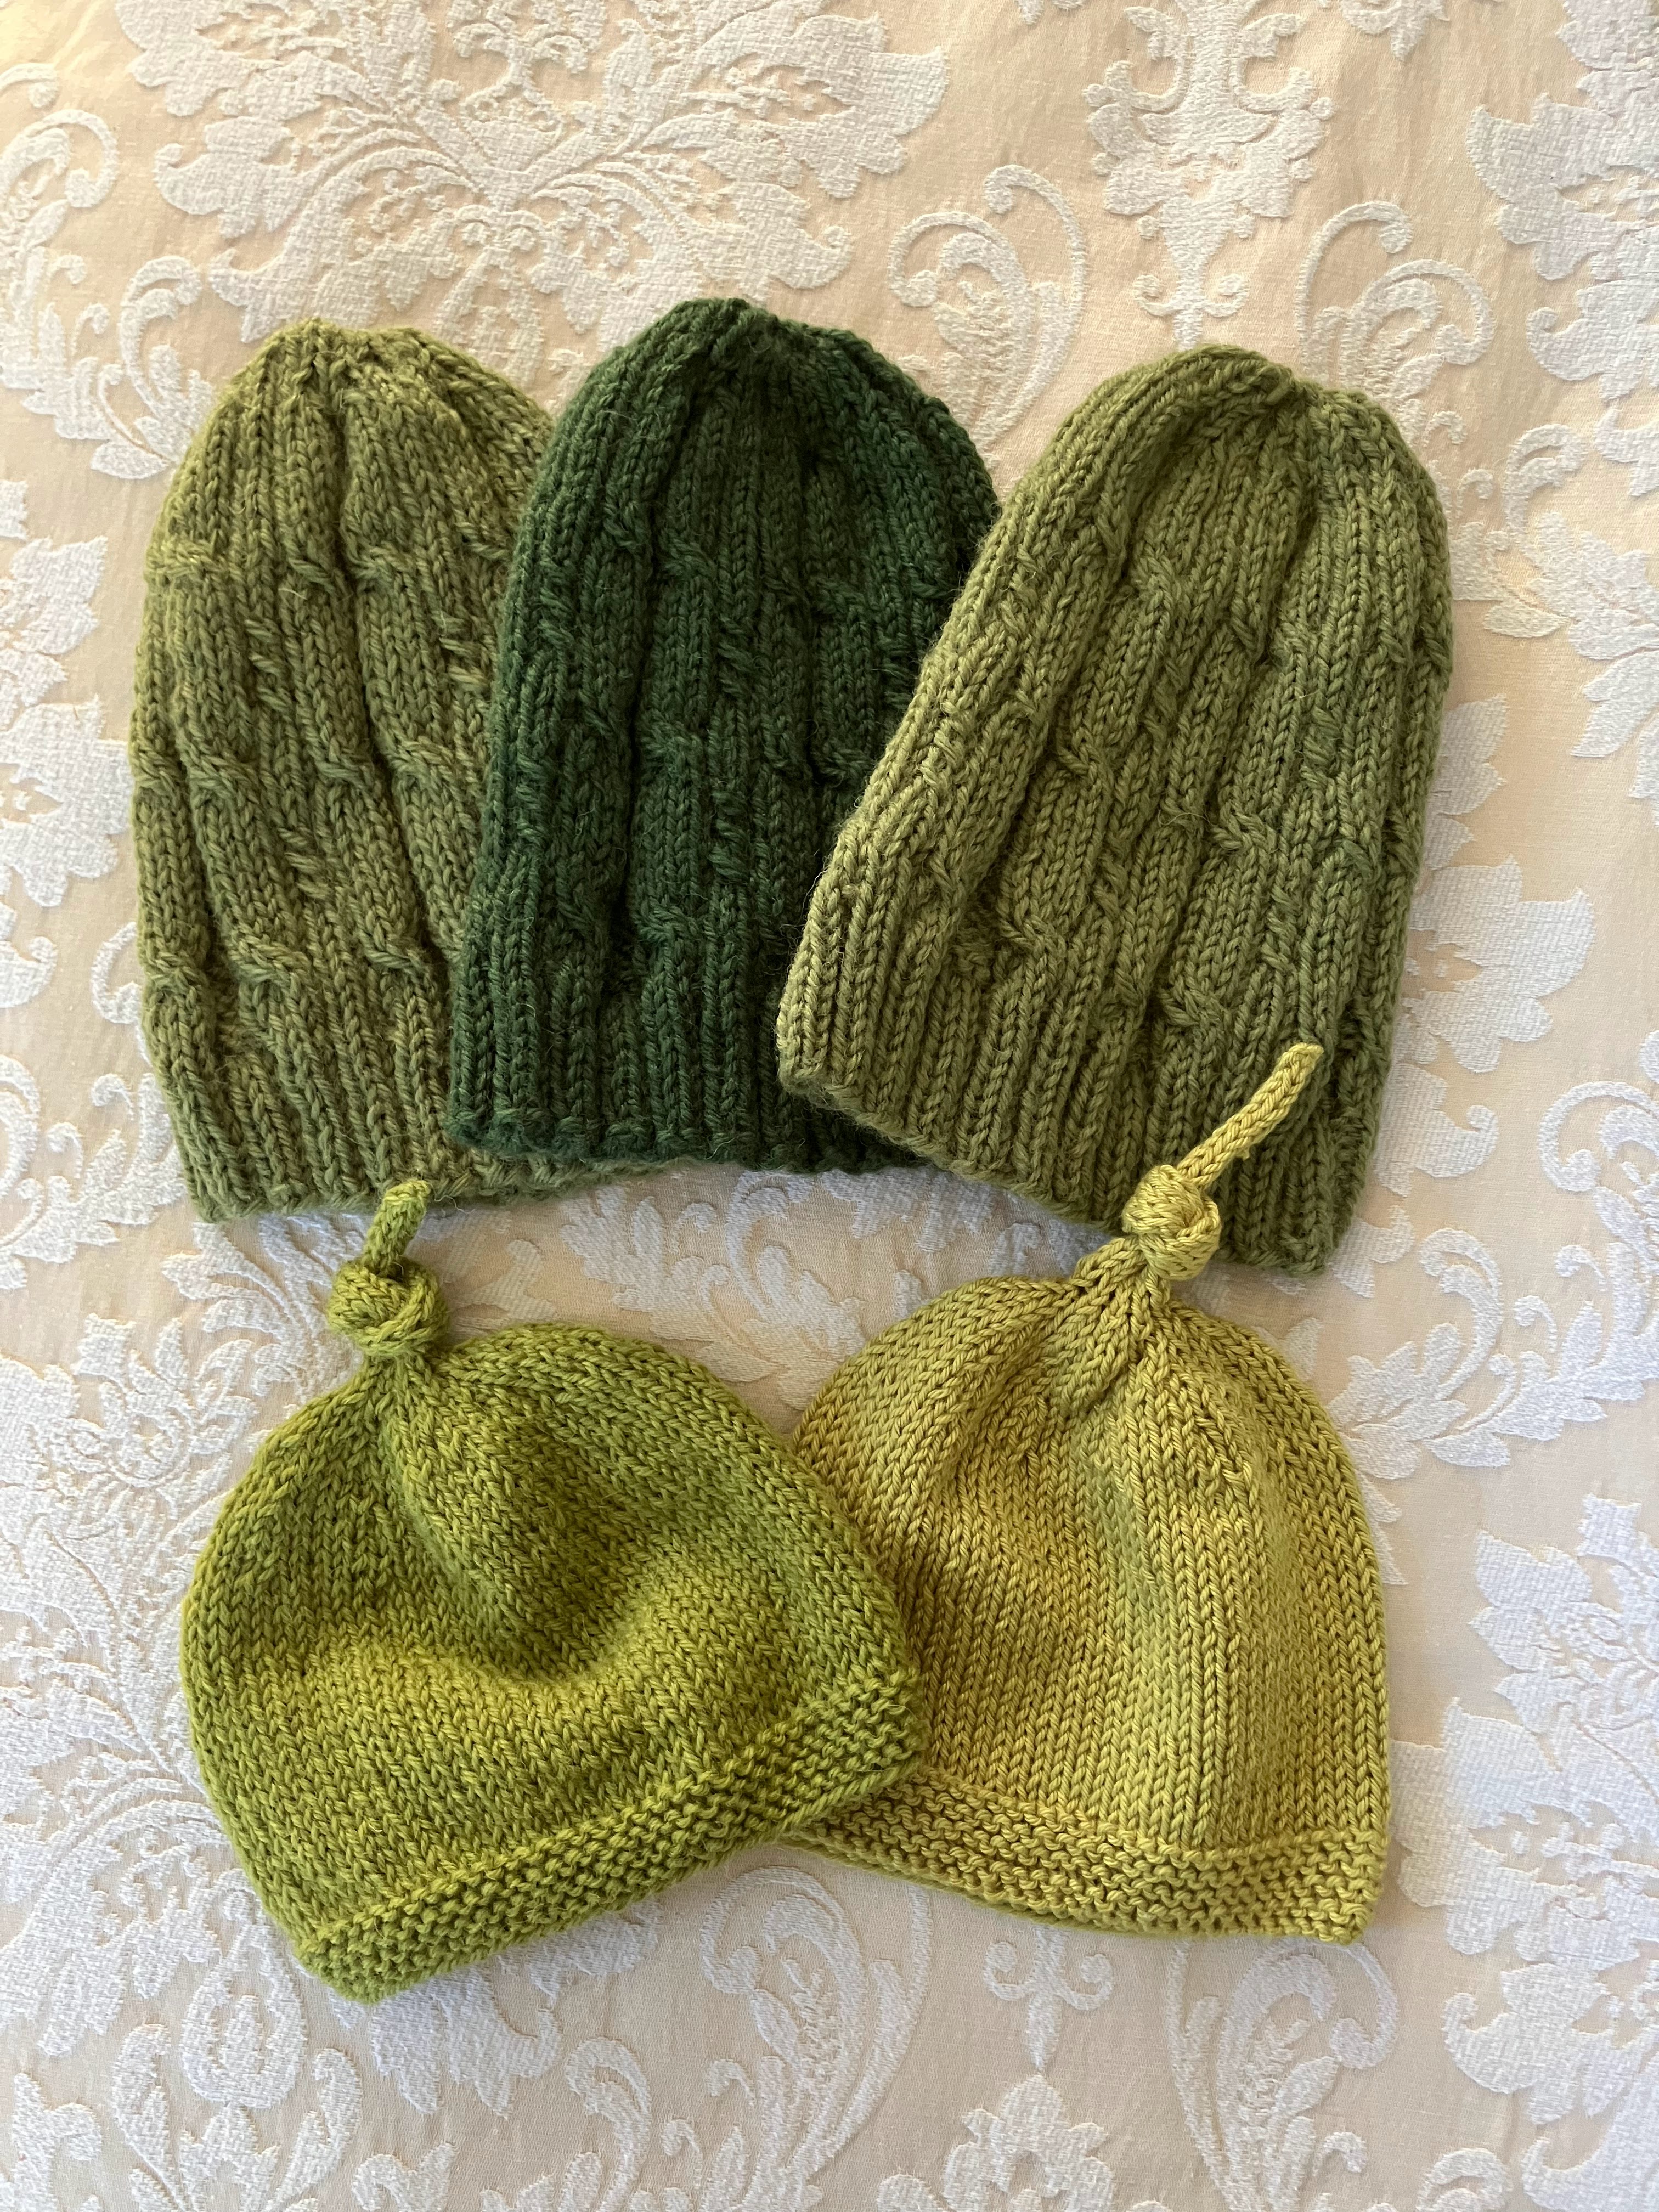
How to top that? Well, during the latter half of 2024, the knit group decided to knit hats using any shade of green wool to decorate this year's tree. Here's my contribution - three adult hats and two for kids.
As a group, we managed to use up a lot of leftover green wool and knit a total of 64 hats and nine pairs of mittens. We are not primarily charity knitters and fit this knitting in between our other personal knitting projects. There's no obligation to take part - but everyone does!

This time the hats were attached to a traditional tree using clothes pegs I'd sprayed with silver paint. Adding white lights enhanced the tree without detracting from the hats.

It's our intention, after Christmas, to donate the adult hats to a charity for the homeless and the kid's hats and mittens to a local group which supports families in need.
Such is the enthusiasm of The Naughty Knitters, I've already received suggestions for next year's tree!
The 12 strong Oldmeldrum Naughty Knitters meet every Wednesday morning at Lochter.


