Thursday, 25 April 2024

A New Angle on Stained Glass

I was thrilled to receive a gift voucher for a stained glass session with Claire Gaunt Art at Christmas.

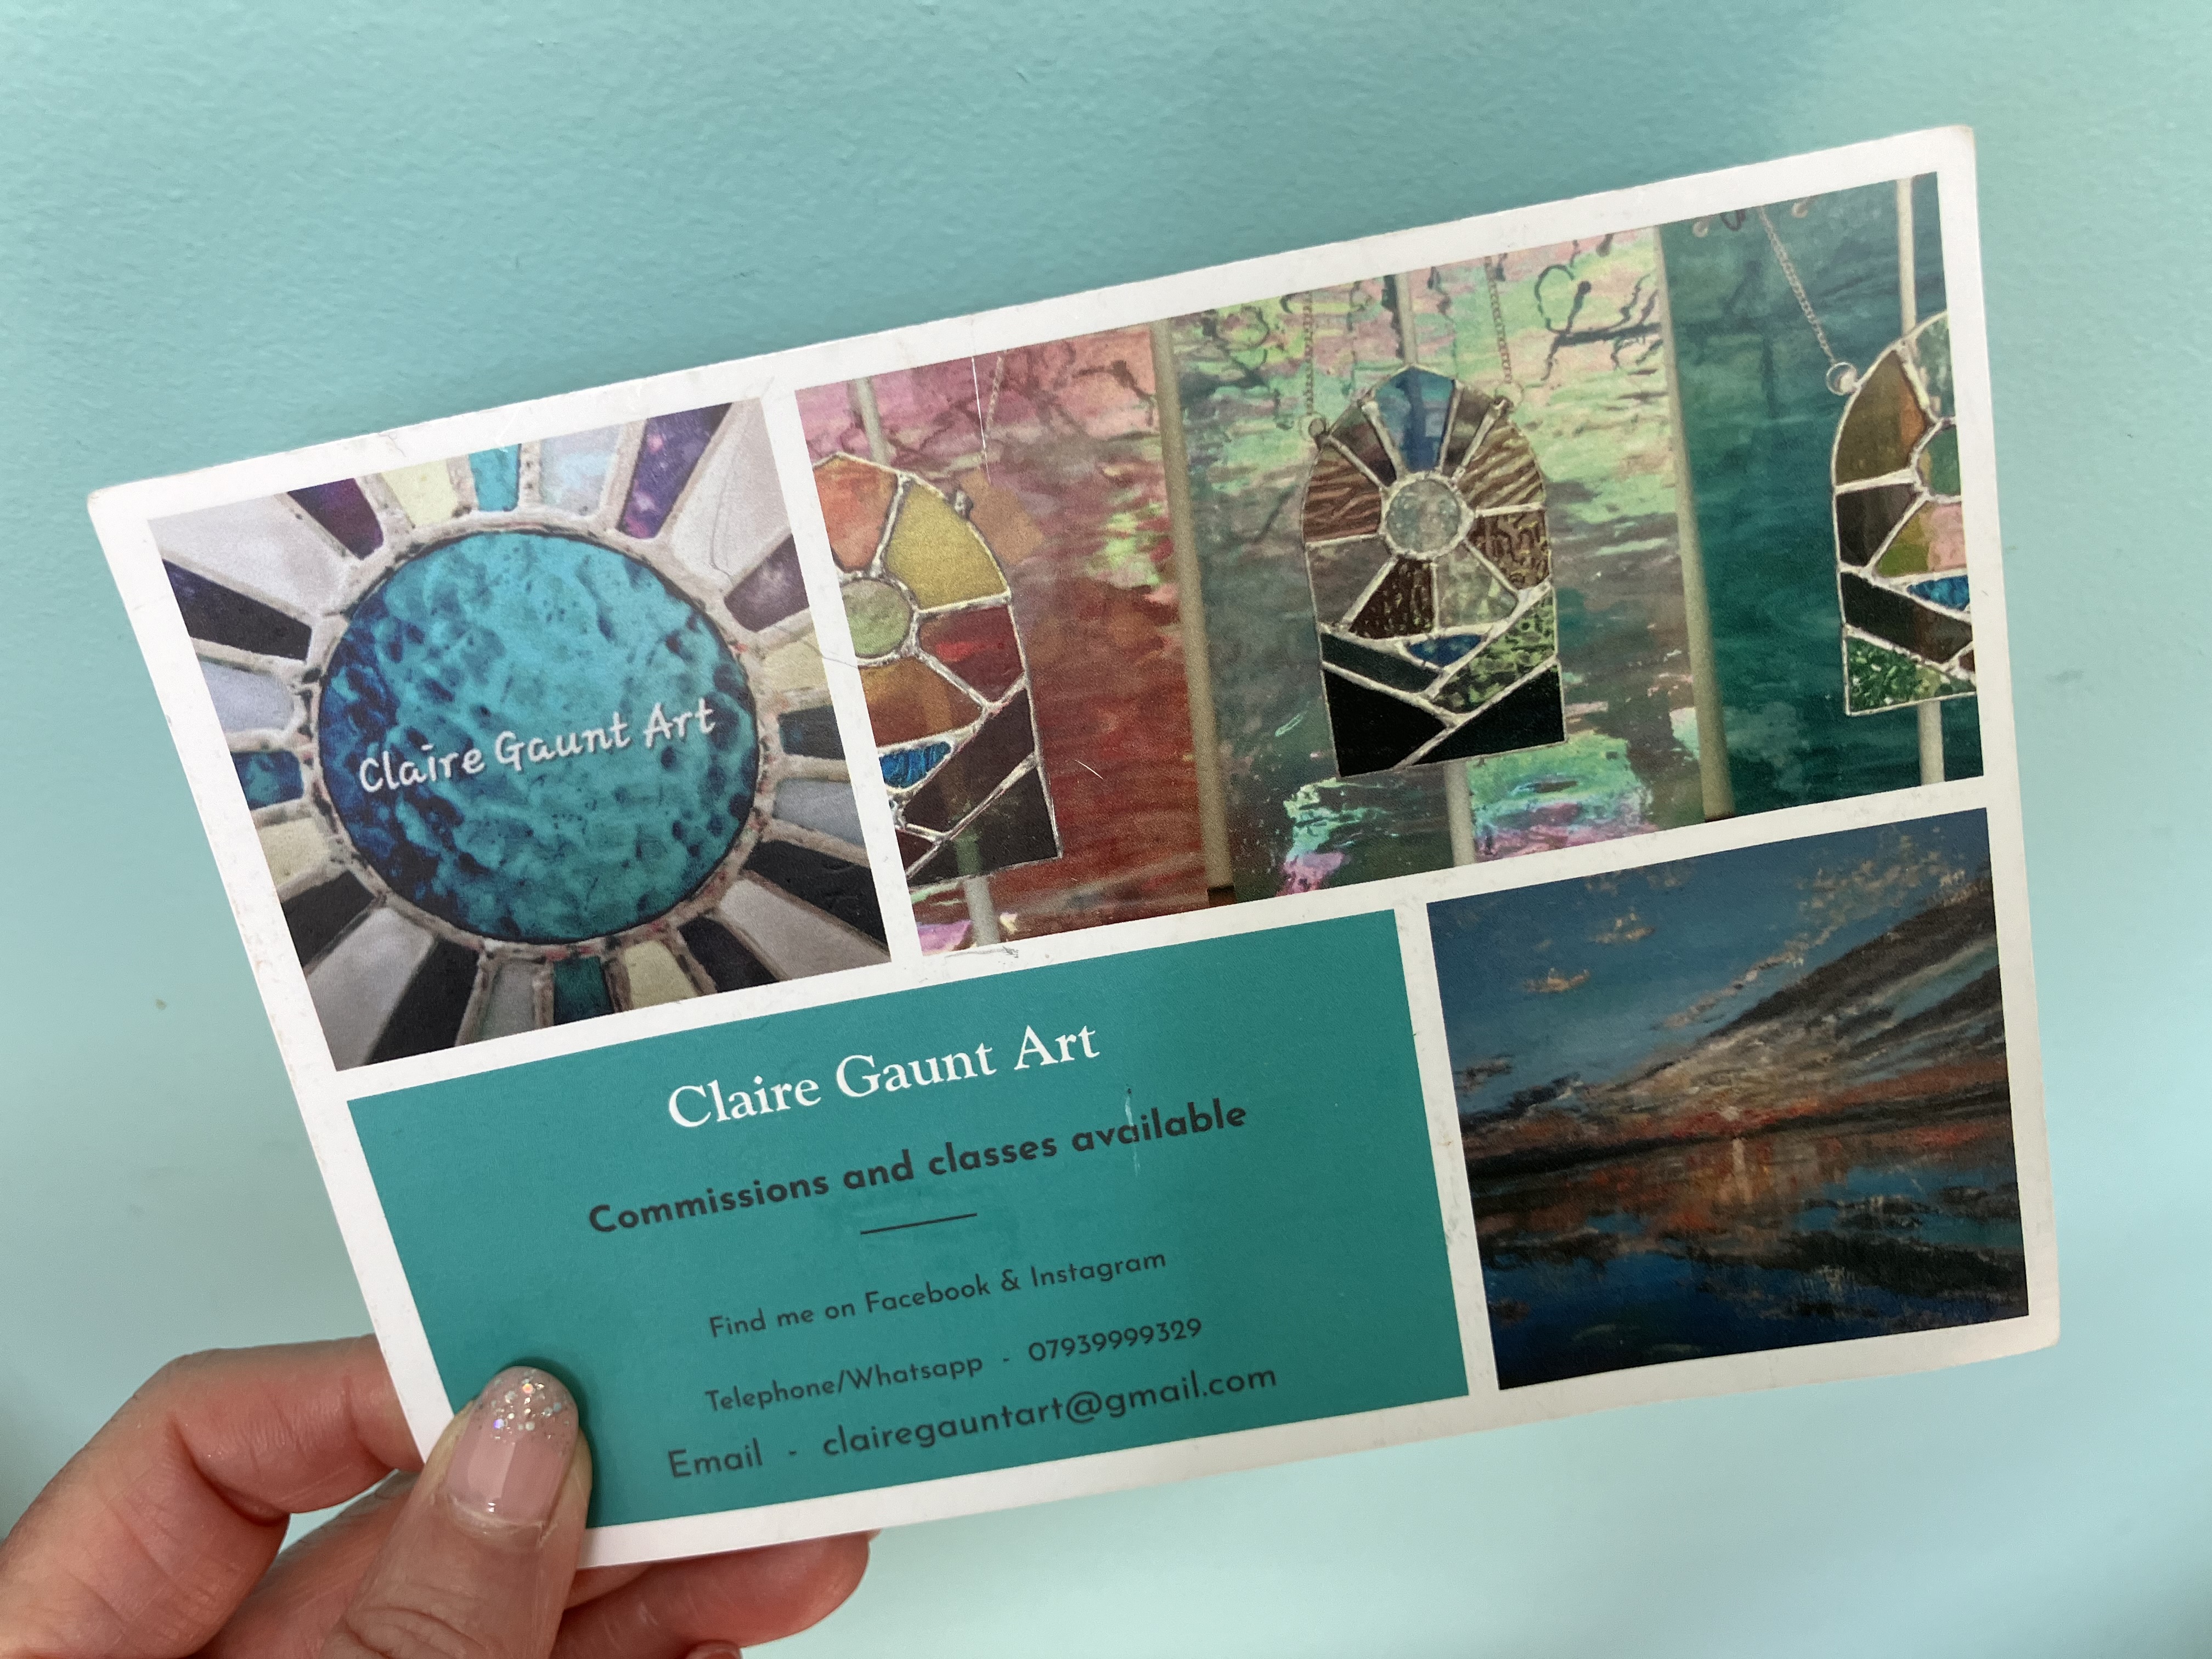
Not least because I'd dropped heavy hints to my husband, and left Claire's business card casually lying around.  I'd met Claire at a Christmas Fair at Haddo House last November and loved the pieces she had on display.  Her garden studio in Aberdeen was adorned with many of the gorgeous stained glass items she sells.  


I loved the coloured light filtering through these geometric hangings at each window in Claire's workspace.

Just the inspiration I needed - but was it too ambitious for a beginner's workshop?  

I needn't have worried as Claire encouraged me to go for it!  

First up I chose some coloured glass.  Here's a wee selection of the array of options.  

I settled for a palette inspired by my recent lounge makeover featuring a newly painted yellow green accent wall and reupholstered turquoise chair.  Isn't the blue rippled glass gorgeous?


Claire drew a template for me to follow and I traced the shapes and cut the glass, numbering the pieces as I went.


The circle was most challenging.  Thankfully the grinder helped smooth off those rough edges.


I'd never used these finger guards, or cots, before.  They provide protection whilst grinding glass without diminishing dexterity, helping me keep my pre-holiday sparkly manicure intact!  

Next it was time for some foiling.  I found it very satisfying to apply the adhesive foil strip to each edge and see my artwork start to come together.


In readiness for soldering, Claire used horse-shoe nails to anchor the foiled glass pieces and keep them in place.


She then applied Flux followed by dabs of solder onto the back to stabilise the window hanging finally creating one piece.


After demonstrating how to solder in a straight line, Claire told me it was my turn!  I was quite nervous but Claire made me feel completely at ease and I was soon soldering away to my heart's content.  I can definitely tell which bits I did but I was pretty pleased with my results overall.  


Claire then helped to solder all the way round the edges, as that required more precision than I currently possess, and the finishing touch was to attach a hanging ring and chain.

Here's our tah-dah moment together!


I was delighted with the stained glass artwork I made at my workshop with Claire and I couldn't wait to see it at home.

Here's my artwork in situ with the upholstered chair and accent wall which inspired my colour choice


If you'd like the opportunity to create your own stained glass artwork, Claire can be reached here:

Email : clairegauntart@gmail.com
Mobile : 07939 999329


Share:

Sunday, 18 November 2018

Through the square window...

The architect who designed the home extension we completed ten years ago,  was a big fan of the square window.  He may not have been such a fan of the preschoolers' staple TV programmes Play School or Tikkabilla, as we don't have any round or arched windows, but triangles do feature - which is quite a challenge when it comes to curtains!

This is the window he created between our hallway and kitchen so we can see who's at the front door.  It's also where I've chosen to display the fused glass seascape I made in the summer at Shelagh Swanson's studio in Aberdeen which features a wee oyster catcher.


If I had a bottomless purse, I'd have liked to commission a stained glass panel for the other square window in the hall.  So when an ad for fine art, craft and design workshops with Creative Learning Aberdeen popped up recently on Facebook I was keen to know more.  The online brochure entitled "Make Your Mark" included a two day stained glass mosaic course amongst many others, so I contacted my craft buddy, Carol, and we both signed up straight away.

Make Your Mark is a programme of short courses delivered by The Creative Learning Team at Aberdeen City Council who say: these workshops are designed for participants to progress their skills in the arts and receive excellent technical support and teaching from our experienced tutors.  


And they're not wrong!  Our tutor was Cowan Watson and he gently guided all nine ladies on his course at Rosemount Community Centre through the basics of glass cutting, design and mosaic creation in a lovely calm, encouraging way.  Some of the participants had attended previous classes with Cowan, including my friend, Carol.  He let those with previous experience work at their own pace but was on hand with help and advice when needed.  He'd a canny knack of being just at my elbow when I required confirmation that I was on the right track.

I sought out inspiration for my design from one of Cowan's many stained glass art books then drew out my own version with paper and pencil, thickening up the cut lines in felt pen.


Large tubs of stained glass pieces provided plenty of choice for colour and texture.

After a bit of glass cutting practice, I soon got back into the swing of things and began to build up my picture.


By the end of the first day, I'd cut all my orange sun rays and had started picking out greens.  The other class participants were generous with supplies of their own that they'd brought with them and June kindly gave me some of her glass pebbles.


I felt more confident in my glass cutting skills on day two and consequently cut better and faster as I shaped the tree trunk and branches as well as the grass.  Round pieces take longer to fashion so I opted to create my tree canopy from glass pebbles as I found I had some more of these at home.


Carefully lifting all the bits off my sketch, I prepared to start sticking the pieces onto the plain glass background.


Essentially the mosaic is a glass sandwich adhered with strong clear glue .  I raided June's tub of jewel coloured glass nuggets to add 'fruit' to my tree.


Cowan suggested I wait until all elements were in place before cutting out my sun.  I scoured the workshop for a suitable object to draw round that would fit the round space and my eyes hit on a rainbow roll of washi tape.  I cut a rough circle of textured yellow glass and ground the edges smooth.  With the picture finally complete I could putty the spaces.


Helen who was sitting opposite me had finished her floral panel and had some glittery putty to spare which she offered me.  She then showed me how to apply it with my hands, smooth it in and wipe away the excess.  She also gave me some beads to stick into the putty round my sun for added sparkle.


The friendly atmosphere in the class ensured there was plenty of chat as well as sharing of ideas and materials.  Here are some of the beautiful mosaics the other ladies created.


I brought my piece home and allowed the putty to dry whilst contemplating where to display it.

You see, I'd attended the two day course with no clear idea of what I was going to make or where it would ultimately hang .  The dimensions of my square shaped panel were defined by the piece of A4 paper I was using and were entirely arbitrary.  As the putty dried, and I walked past my picture as it lay in the kitchen, I mused about where in the house it should go.  I was probably mindlessly doing housework when the eureka moment struck and I took my stained glass mosaic picture into the hall - and the square window....


I caught my breath as it fitted into place, definitely more by accident than design!


Now I'm enjoying my very own view through the square window from inside the house during the day, and from outside when it's dark.


Share:

Sunday, 12 November 2017

Lead, Solder and Putty (a first go at Stained Glass)

The range of posts which pop up in my Facebook feed is diverse to say the least and I usually skim read most of it rapidly, if I look at it at all.  When a local shop which reupholsters unloved furniture to make it lovely again advertised a stained glass course being held nearby, I read the page fully and signed up on the spot.
That's how I came to be in the picturesque North East village of Collieston yesterday (where we usually go for a dog walk) with four other stained glass students and our inspiring tutor, Anne Ferguson.  In the same venue, preparations were underway for a lino cut course which was also running.  There'd been a social event in the hall the evening before so there was a colourful array of beautifully crafted items for sale made by both tutors.
We got straight down to business as the focus of our day was to leave with a finished object.  Anne started by showing us pieces from previous classes she'd run so we could see what we might manage to achieve in the time we had.  A wonderful selection of stained glass was all laid out for us to choose as we planned our designs.
There's some similarities with mosaic making too which helped me feel more confident.  Glass cutting tools and nippers, and the electric grinder which I'd used before, were demonstrated and we all had a go.  Designing again starts with a pencil sketch...
...then the enjoyable, creative task of choosing and combining colours.
Precision cutting and grinding followed to make all the pieces fit the template.
Then lead is carefully cut and fitted round each piece of glass.
The edges all get a coating of flux to help the solder join the lead together.
I didn't get a photo of me with the soldering iron - which is probably just as well!  
Time to putty all the little windows...
...then clean off the grease from the putty which has adhered to the glass using plaster of Paris.  
Hanging hooks are added then the lead and solder get buffed up with stove blackening to dull the solder and make the colours in the glass sing!  As my fellow students finished their pieces they placed them at the window to enjoy the first sight of the coloured glass in all its glory.
And today I was able to prop my wee piece up against a window at home on this dull, cold and rainy November day to finally see how it looks with daylight behind it.  I love the Northern Lights sky! 


Share:
© Never At A Loose End | All rights reserved.
Blogger Template Designed by pipdig