Tuesday, 31 May 2022

København Garncrawl

Thanks to Google Translate, I've learned that yarn crawl in Danish is Garncrawl.  

On a mini-break to Copenhagen (København) in early March, I undertook my very own mini garncrawl.  Look how happy being surrounded by yarn makes me!


I've got a bit of history with Danish yarn shops.  

Here I am, on the left, standing in front of Sommerfuglen during our first trip to this beautiful city back in 2018.  I got my husband, Geoff, to take my picture but decided to go shopping later in the holiday when I could return by myself to peruse the yarn at leisure.  Then my Mum fell ill and we returned home early.  I never did venture inside of the shop.  

Thankfully, that situation was rectified during our recent trip.  See the picture on the right!


Having concentrated on city centre sights during our first visit to Copenhagen, we took a short train trip to Roskilde, the historic former capital, to see the Cathedral and the Viking Ship Museum.


These ancient socks on display at The Viking Museum date from the 10th century and are made using the technique of Nålebinding, the one-needled forerunner of knitting.  Geoff's hat, knitted just before this holiday, made a perfect Viking helmet as we dressed up in the museum's immersive long-ship experience!


Roskilde also afforded some yarn related window shopping as Strik & Design was sadly closed on the day of our visit.  I contented myself admiring the wool from afar and enjoyed the pretty display of knitting inspired ceramics by Else Rasmussen, realising I might need to have some of these in my life in future. 


Back in the city, continuing my garncrawl, we walked to Rosenborg Castle via another of  Copenhagen's gems, Uldstedet.


After asking Geoff to take this photo, we continued sightseeing together.  

I didn't want our inner holiday personas to become like this....
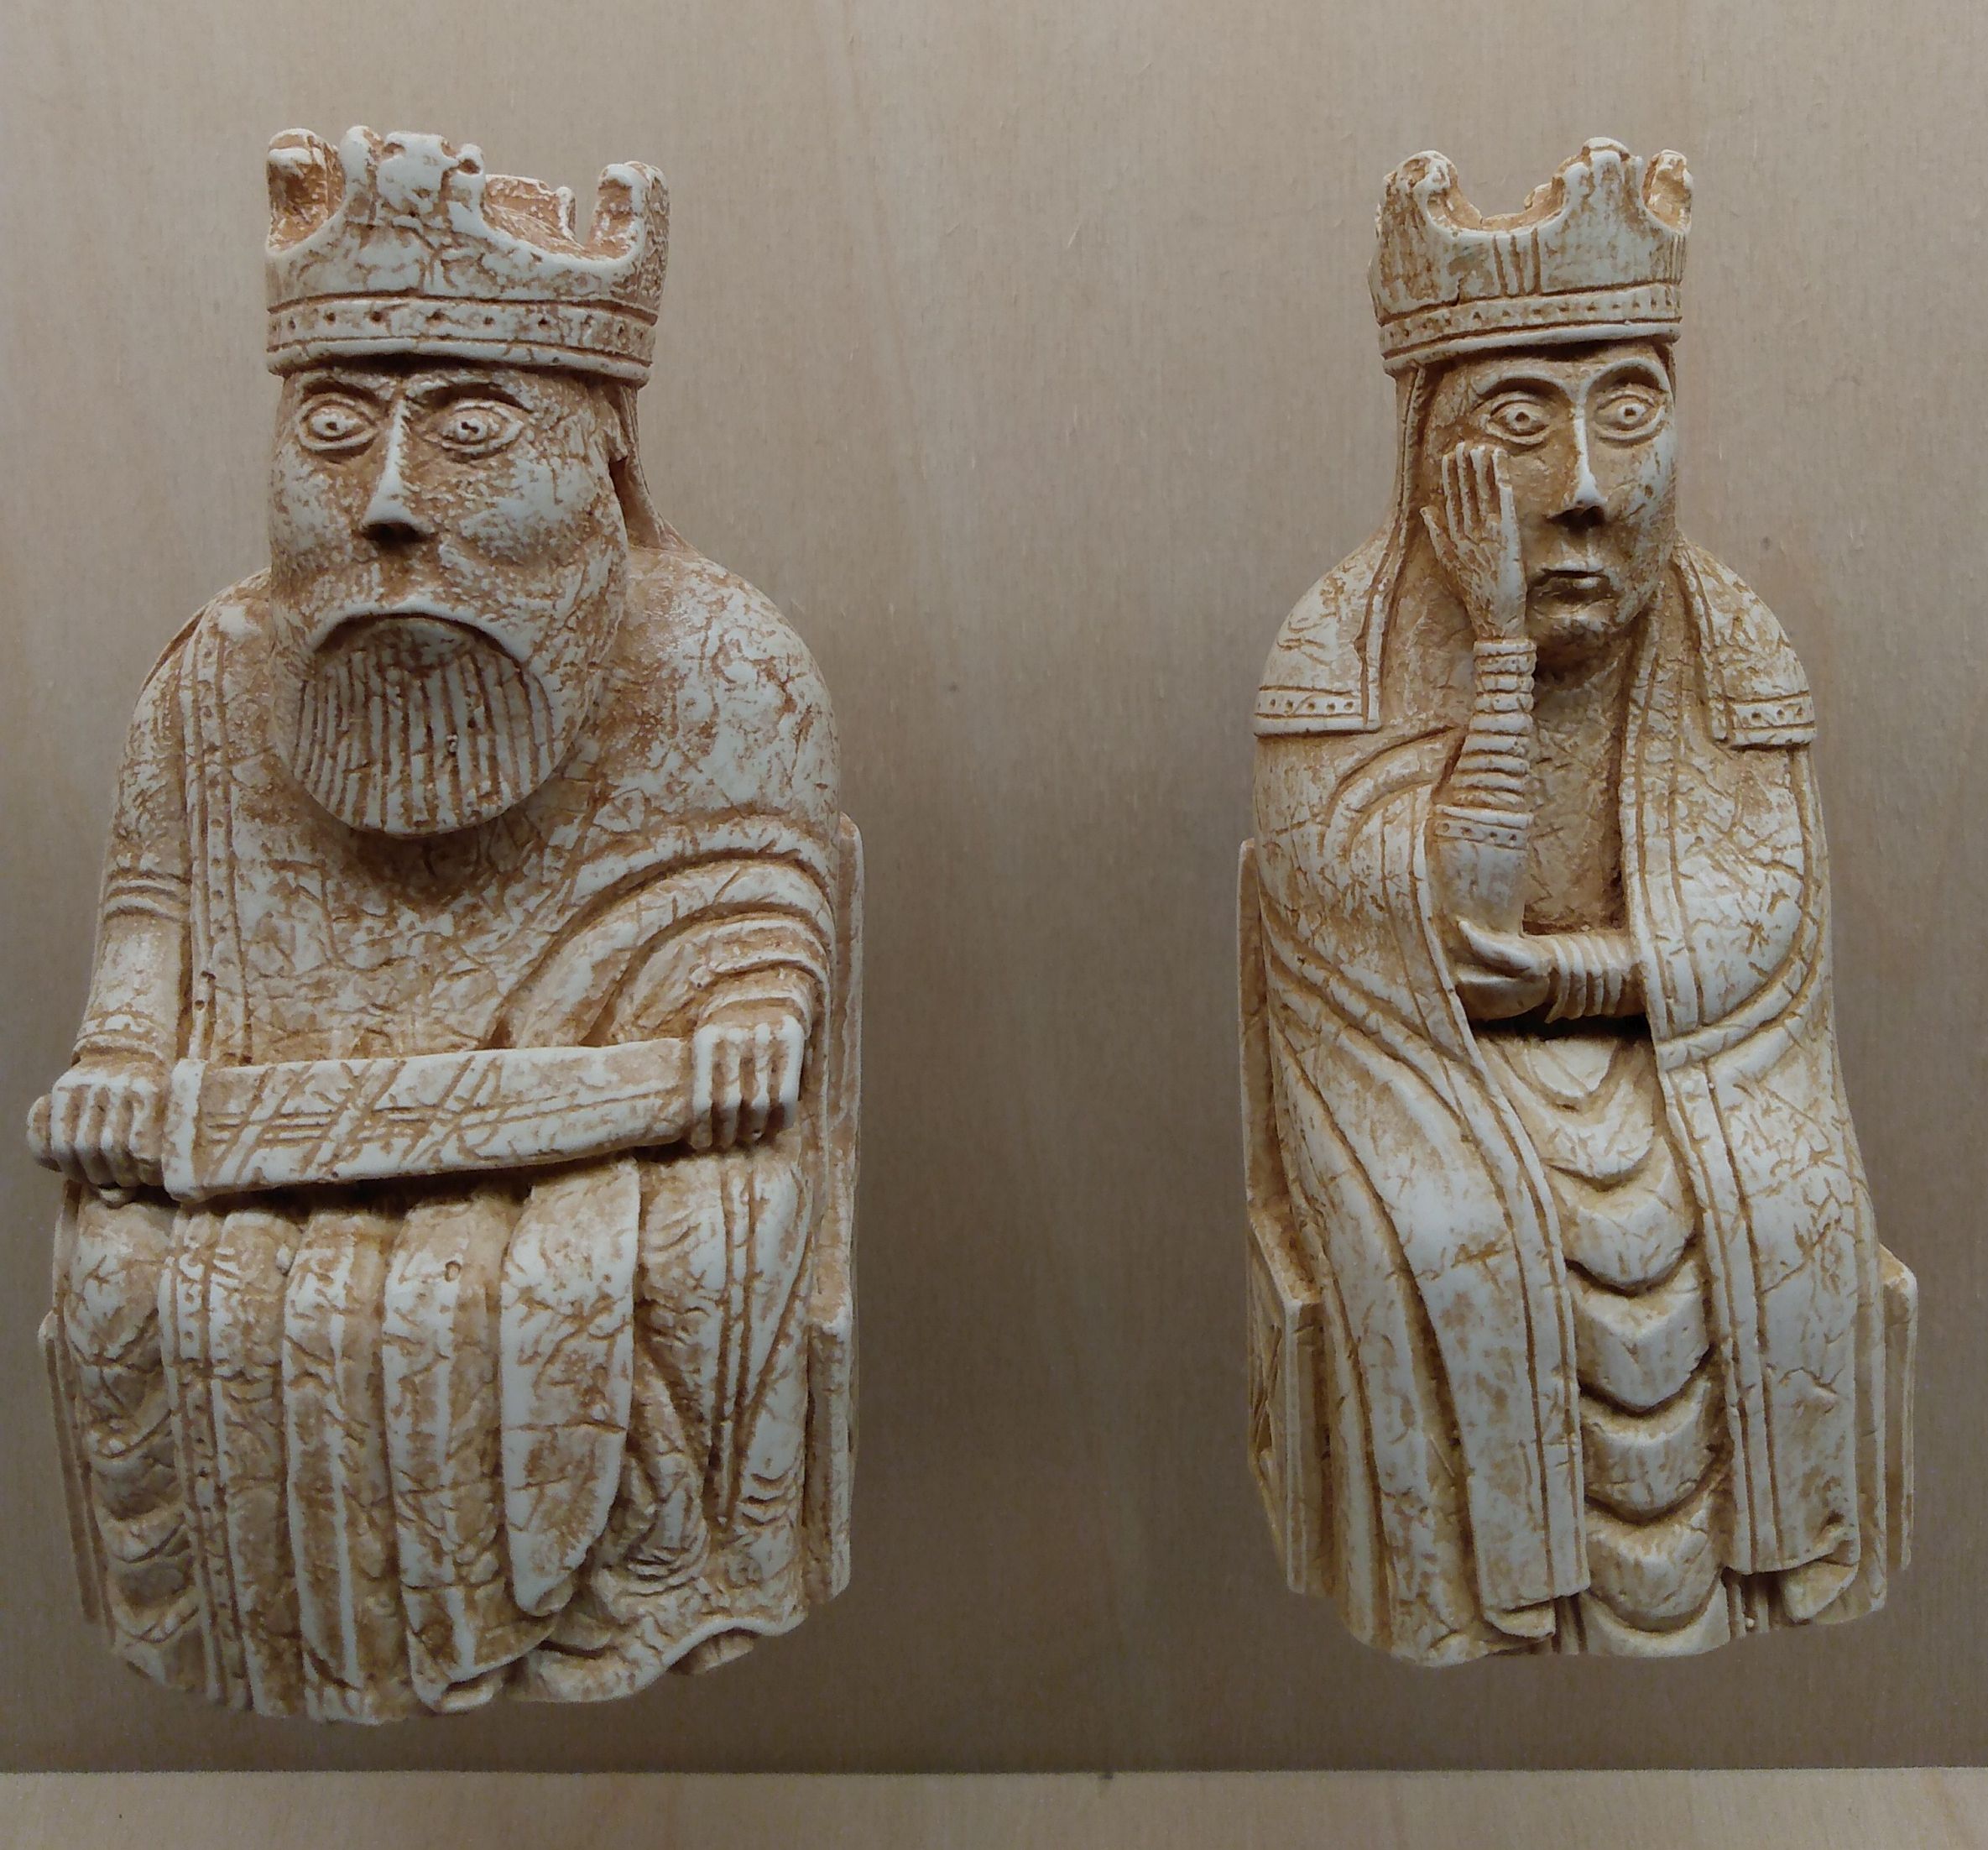
Lewis Chess Pieces on sale at the Viking Ship Museum!

So I returned to Uldstedet a little later, by myself.  

Whilst the window display is enticing, the inside of the shop is a yarn lover's paradise.


It wasn't long 'til I was trying on the shop samples and availing myself of their mirror for a selfie!  
Isn't the Sparkling Cardigan lovely?


I decided the cardigan would be a perfect Copenhagen garncrawl souvenir.
The pattern is a shop exclusive, designed by Danish brand Gepardgarn.  It's only sold in conjunction with the yarn, sumptuous wool/silk in a solid shade combined with a contrasting fluffy cloud of mohair.  All I had to do was pick my colours.  What a choice!


With help from the knitting fairies, as the in-store assistants are known, I settled on Light Sea Green and Rain Storm.

This cute project bag was a lovely freebie!
I started knitting my cardigan on March 12th, almost as soon as I got home from holiday. 
 

Progress was steady then I sabotaged my own knitting by not reading the notes I'd carefully made about the length of the first sleeve.  Consequently, I finished the second sleeve only to find it was much too short and I had to undo the whole piece from the armhole shaping and re-knit it to match the first!


And today I was able to wear this special cardigan for the first time.  
It's light and airy but cosy as pie.


Perfect for the climate here in North East Scotland where it can be cloudy, rainy, cool and warm within the same five minutes!  That describes most of our summer so I expect to get a lot of wear out of it.


And as for that armful of yarn in the first picture, well that also came home with me from my garncrawl and I have a plan in mind for it in my knitting future too!


Share:

Saturday, 30 April 2022

An Obsession With Soap Dishes

Is two an obsession?  

The Jesmonite soap dish I made in January and blogged about here.  Soap by Essentially You

If I've never made a soap dish in my life, then I make two in two months, you might be well within your rights to ask what's going on?

Last November I signed up to a soap making course taking place this month - that's what!

So, at Christmas, I hinted to Santa that I'd like this fused glass soap dish kit from Molten Wonky.


The kit contains all you need with the exception of a kiln to fuse the glass!  That's why Katie of Molten Wonky includes an envelope so you can send your creation back to her so she can fuse it for you at her studio and send it back to you.  There's very comprehensive instructions provided in the accompanying booklet, as well as on her website.

Look at the contents of that wee bag of jewel-like glass pieces.  I couldn't wait to get cracking.


My crafty partner in crime, Carol, also received a fused glass kit as a gift so we arranged a girl's night to enable us to make our pieces together.  

Here's my initial layout with Carol working away on her design in the background.


Once I was happy with my design, I glued the coloured glass pieces onto the transparent glass base using the PVA glue provided.  It becomes clear as it dries so appears to disappear!


My initial intention was to use only the bigger bits of glass but, as I was finishing, I sprinkled the tiny fragments into the gaps - and I'm really glad I did.


Prior to posting my design back to  Katie at Molten Wonky I filled in as many of the gaps as I could.


I used the robust box containing my kit to send my design back to the Molten Wonky studio then it was  used again to return my fused glass soap dish back to me.  The thoughtfully provided post-paid envelope included in the kit meant all I had to do was some careful wrapping and take a trip to the letter box.

Then wait for the postie to bring me my finished soap dish.


I couldn't have been more delighted with it!  See how the tiny bits look like sprinkled confetti.

Now I can't wait for that soap making course so I can use my soap dishes with my very own soap!


Share:

Sunday, 13 March 2022

But what if I want to wear my Docs?

Before Christmas I signed up to a mini-skein swap after listening to Leigh's yarn podcast.  

From L to R hand dyed yarn by Rusty FerretRipples Crafts twice, FyberspatesGinger Twist Studio
 and The Border Tart

Yarn lovers love yarn so much they can seldom throw away what they haven't used.  Twisted into minis, or wound into little balls, these nubbins of leftover wool are irresistibly cute.  Somehow you can never have enough, and that's why we're willing to swap.

A quick trawl of my allotted swap partner's completed knits on Ravelry, the on-line organisational tool for fibre fanatics, revealed her love of jewel tones.  I searched my stash and found suitable candidates from primarily Scottish hand dyers as it happens.  After I'd located some pretty labels and paper bags I already had in the house, I wrapped each skein individually to add an element of surprise for the recipient.


With the inclusion of some local treats of soap and chocolate, my parcel was ready to post.  All I had to do now was wait for the postie to bring the parcel my swap partner had sent to me.  

Ah - the anticipation!

Clearly we had the same idea to re-use pretty paper bags.  I do love the postcard she sent - so me.


Revealed inside the packages were these glorious colourful balls of 4 ply.  

But what to do?  How could I use them together to make something lovely?

I cast my mind back to December 2020 when I'd gifted myself a scrappy pack from Henny Penny Makes and knitted the Simple Scrappy Advent Cowl using a different tiny parcel of yarn in the days leading up to Christmas.


I wear it a lot as it's so cosy and it goes well with all the pinks and purples I frequently wear.


But what if I want to wear my Docs?

I am the proud owner of these flowery kids Dr Marten boots thanks to my pint-sized feet.
Though I love them, orange is not a colour which features predominantly in my wardrobe.


So I sorted through my treasury of leftover yarn and gathered colours which complimented the blues and autumn tones I'd been sent but also matched my boots.  Here they all are, skewered together on unused knitting needles so I don't loose track of the order I want to knit them in! 


I chose the Land of Sweets Cowl by Helen Stewart from my pattern library.  The lace sections add textural interest as well as being fun to knit.  Not wishing to have to sew in eleventy million ends as I changed colour, I used the Russian join technique when changing colour.  

Can you even see the transition between the yellow and variegated brown yarn above? 

And here's the tah-dah moment!


A new neck cosy which used each colour from my swap parcel and looks great either way up.


My cowl got its first outing at the golf recently on this glorious, but still chilly, spring day.


But it also looks grand worn along with my favourite Doc Martens!


Share:

Monday, 31 January 2022

Casting around for a new craft

 I've just attended my first in-person craft workshop in a very long time!


Here's my workstation set up at the Acrylic Resin Casting Workshop.  It was organised and run by Lynne of Snap Crackle and Pip at H1 in Aberdeen, a studio space for creatives off Anderson Drive.


Having created beautiful stained glass pieces for many years, Lynne branched out into resin casting during lockdown.  The array of sample pieces on display for us to peruse on arrival was inspiring.  
I especially liked her soap dishes.


The samples are made from Jesmonite, a relatively new material developed in the 1980's as an eco-friendly alternative to cast concrete.  The brainchild of building technologist Peter Hawkins, Jesmonite is now widely used in architecture and manufacture as well as in the craft sector.  

The addition of coloured pigments let's the creative imagination run wild!  

Lynne explained the components of Jesmonite, a base powder and water based acrylic resin which must be mixed together swiftly and smoothly then poured into the silicon mould provided.  Coloured drops are added to all or part of the mix.  Lynne had weighed out what we needed to create our first piece, a trinket dish.  I chose the stone coloured coade pigment and marbled some drops of terracotta through it.


As much as possible of the Jesmonite is scraped into the mould which is then nudged gently to rid it of any unwanted air bubbles.


And then we had to wait for 25 minutes.  Under half an hour and our resin pieces would be set.  So speedy!  Plenty of time to get the kettle on and admire the underside of each others work.

Trinket trays in the making by Zoe, Kirsten, Carol and Christine

The really fun part comes when it's time to ease the trinket dish out of its mould.

Zoe and Kirsten's finished trays are pictured together, then Carol's, Christine's and my own

Some colours are bold and some are more subtle - but everyone had made an original piece of Jesmonite and we oohed and aahed at each others creations.

There was time for us all to make a second piece and we looked again at the display table for inspiration.  I liked Lynne's soap dishes and chose to make one for myself, deciding on a monochrome colour scheme.  Lynne knows the precise amounts of resin and powder which each mould requires and measured them out accordingly.


I marbled the black pigment through the natural colour of the Jesmonite.  And waited.  
There's no way of knowing how it will look after it's set which is certainly part of the fun of this workshop.


And here it is.  In all it's monochrome marble loveliness.


One of the great pleasures of being part of a class is seeing what everyone else makes.  
The other attendees kindly allowed me to photograph their work.

Christine and Kirsten made beautiful plant pots whilst Zoe made wee decorative cacti and a pyramid.

Carol made a beautifully marbled dish from a silicone mould Lynne created herself

All in all a very productive day!


Everyone left Lynne's workshop wearing big smiles.  It had been a lovely couple of hours and we were all very happy with what we'd made.  I can't recommend this workshop highly enough. 

Lynne sent us off with paper carriers.  Not only would they hold our precious makes, they also held resources to finish off our Jesmonite pieces at home.  The bags contained sandpaper to smooth any rough edges, varnish and an applicator plus thoughtfully provided stick-on surface protectors.
 

I've now completed these final steps and can put my soap dish...


and my trinket tray, into use.


Share:
© Never At A Loose End | All rights reserved.
Blogger Template Designed by pipdig