Sunday, 9 November 2025

Weaving a willow wreath

I'm unsure now how or where I first met Marguerite Fleming.  A warm spirited Irish lady, crofter and crafter, Marge is a powerhouse - one of those people you think must have 48 hours in every day!

Along with husband, Frank, she manages Westfield Croft, home to hives of bees, fields of rare breed sheep, a multitude of poultry, a large willow coppice and Marge's search and rescue dogs.  

We probably first met chatting about her wool at a local yarn show or maker's market.  I've knitted with her beautiful Blue Faced Leicester wool...

 and Spangle, our kitten, loves the cat mat Marge wove on her peg loom.


Recently I spotted an ad for an autumn wreath weaving workshop run by Marge.  I signed up right away and took my pal, Vicki, along with me.  Held locally in a former school repurposed as a community space, we were welcomed with refreshments and greeted by tables laden with dried flowers, cones and teasels, whilst additional floral art materials lined the walls.


There was lots of willow too, with different coloured stems, all grown at Westfield Croft.


As the class gathered, we had the chance to see what we were going to make by checking out Marge's sample wreaths.


To begin with, Marge showed us how to take some of the thicker willow branches and bend them by hand, one at a time, encouraging them into a circle shape.  We had to do this well away from each other so we didn't accidentally catch our classmates with any errant whippy stems!


After building up the ring until we were happy with its shape, we trimmed away unwanted leaves and ends.


Then it was time to chose our decorations.  I was drawn to the soft yellows whilst Vicki chose these muted pinks and greys.


There was wool to wind round our wreaths and wire to stabilise the delicate strawflowers.  We used florists wire to secure the cones, grasses and flowers to our designs.  They can be easily removed in future to repurpose our willow wreaths for Christmas.


In the meantime, here's how my autumn willow wreath looked at the end of the class.


The two hours had flown by in such an enjoyable way, thanks for Marge's patient tutelage, and we were soon admiring each others handiwork.  

There was just time for a class photo with Marge before Vicki and I headed out for lunch.


Once home, Vicki sent me a photo of her wreath hanging up.  It's so pretty against her painted door.


When I got home, I decided to replaced the wool wound round the top of my wreath with a bow fashioned from this rustic ribbon.


Thanks to Marge for a lovely instructive workshop with great company. 

To hear about future workshops with Westfield Croft, 

keep in touch through the website

FaceBook 

and Instagram.


Share:

Sunday, 27 July 2025

A Lovely Leather Bag

No one was more surprised than me when I won a prize on the Ruth Loves to Knit podcast.

Ruth has very clever hands and her handknits are beautiful.  Originally from Northern Ireland, she now lives in Devon and her chats to camera where she shares her making and her thoughts on her spiritual life, regularly keep me company whilst I'm knitting.


A few episodes back, Ruth showed off the lovely bag she'd made from a Babylon Leather kit.  After the company offered her another bag kit, she generously decided to give it away.  I was the lucky winner of the kit she chose at random - the zip top tote bag in this gorgeous caramel colour.  

I was so excited to open the box when Ruth's parcel arrived.  I'd seen other podcasters making Babylon Leather bags - now I'd be able to make one of my own!


The kit contains absolutely everything you need from lovely soft, pre-punched leather to thread, snips and hardware.  As we were about to go on holiday, I decided to take my kit with me to make whilst we house-sat for some pals and cared for their lovely labradors in the Scottish border town of Peebles.


When we weren't walking the dogs along the banks of the River Tweed in the beautiful sunshine, I made a start on my sewing and completed a section of the bag each day.


Instructions are provided via a QR code in the box but a wee glitch recently on the website meant I couldn't gain access.  I joined the Facebook group, Babylon Leather for Beginners, to ask for help.  Very quickly other makers found a YouTube video for me to follow.  It got me started and soon I had the back, front and base in place.  Next, I had to sew in the inner pocket and zip - at the same time.  


That didn't go entirely according to plan.  I managed to sew my zip in upside down.


The thoughtful Facebook group members sent a link to another video for me to watch.  It was clearer but I missed the lady mentioning that she'd made a mistake.  So I made exactly the same mistake! Duh!!  Third time lucky I got the zip in correctly.  


Sewing in both the side panels was fortunately incident free and the body of the bag was complete.  Time to turn it outside in and attach the hardware and handles.  


These just screw in so, in no time, my bag was finished.


It's so lovely - I can hardly believe I made it!  Beautiful and practical - it holds a lot.


Don't be put off by my mistake!  The installation tutorial is now available on the website so making this bag in future will be much more straightforward and you, too, could have a lovely leather bag!

Catch up with Ruth's podcast here

Peruse the many Babylon Leather bag kits here
Share:

Monday, 30 June 2025

My Mosaic Mojo Is No Longer Missing

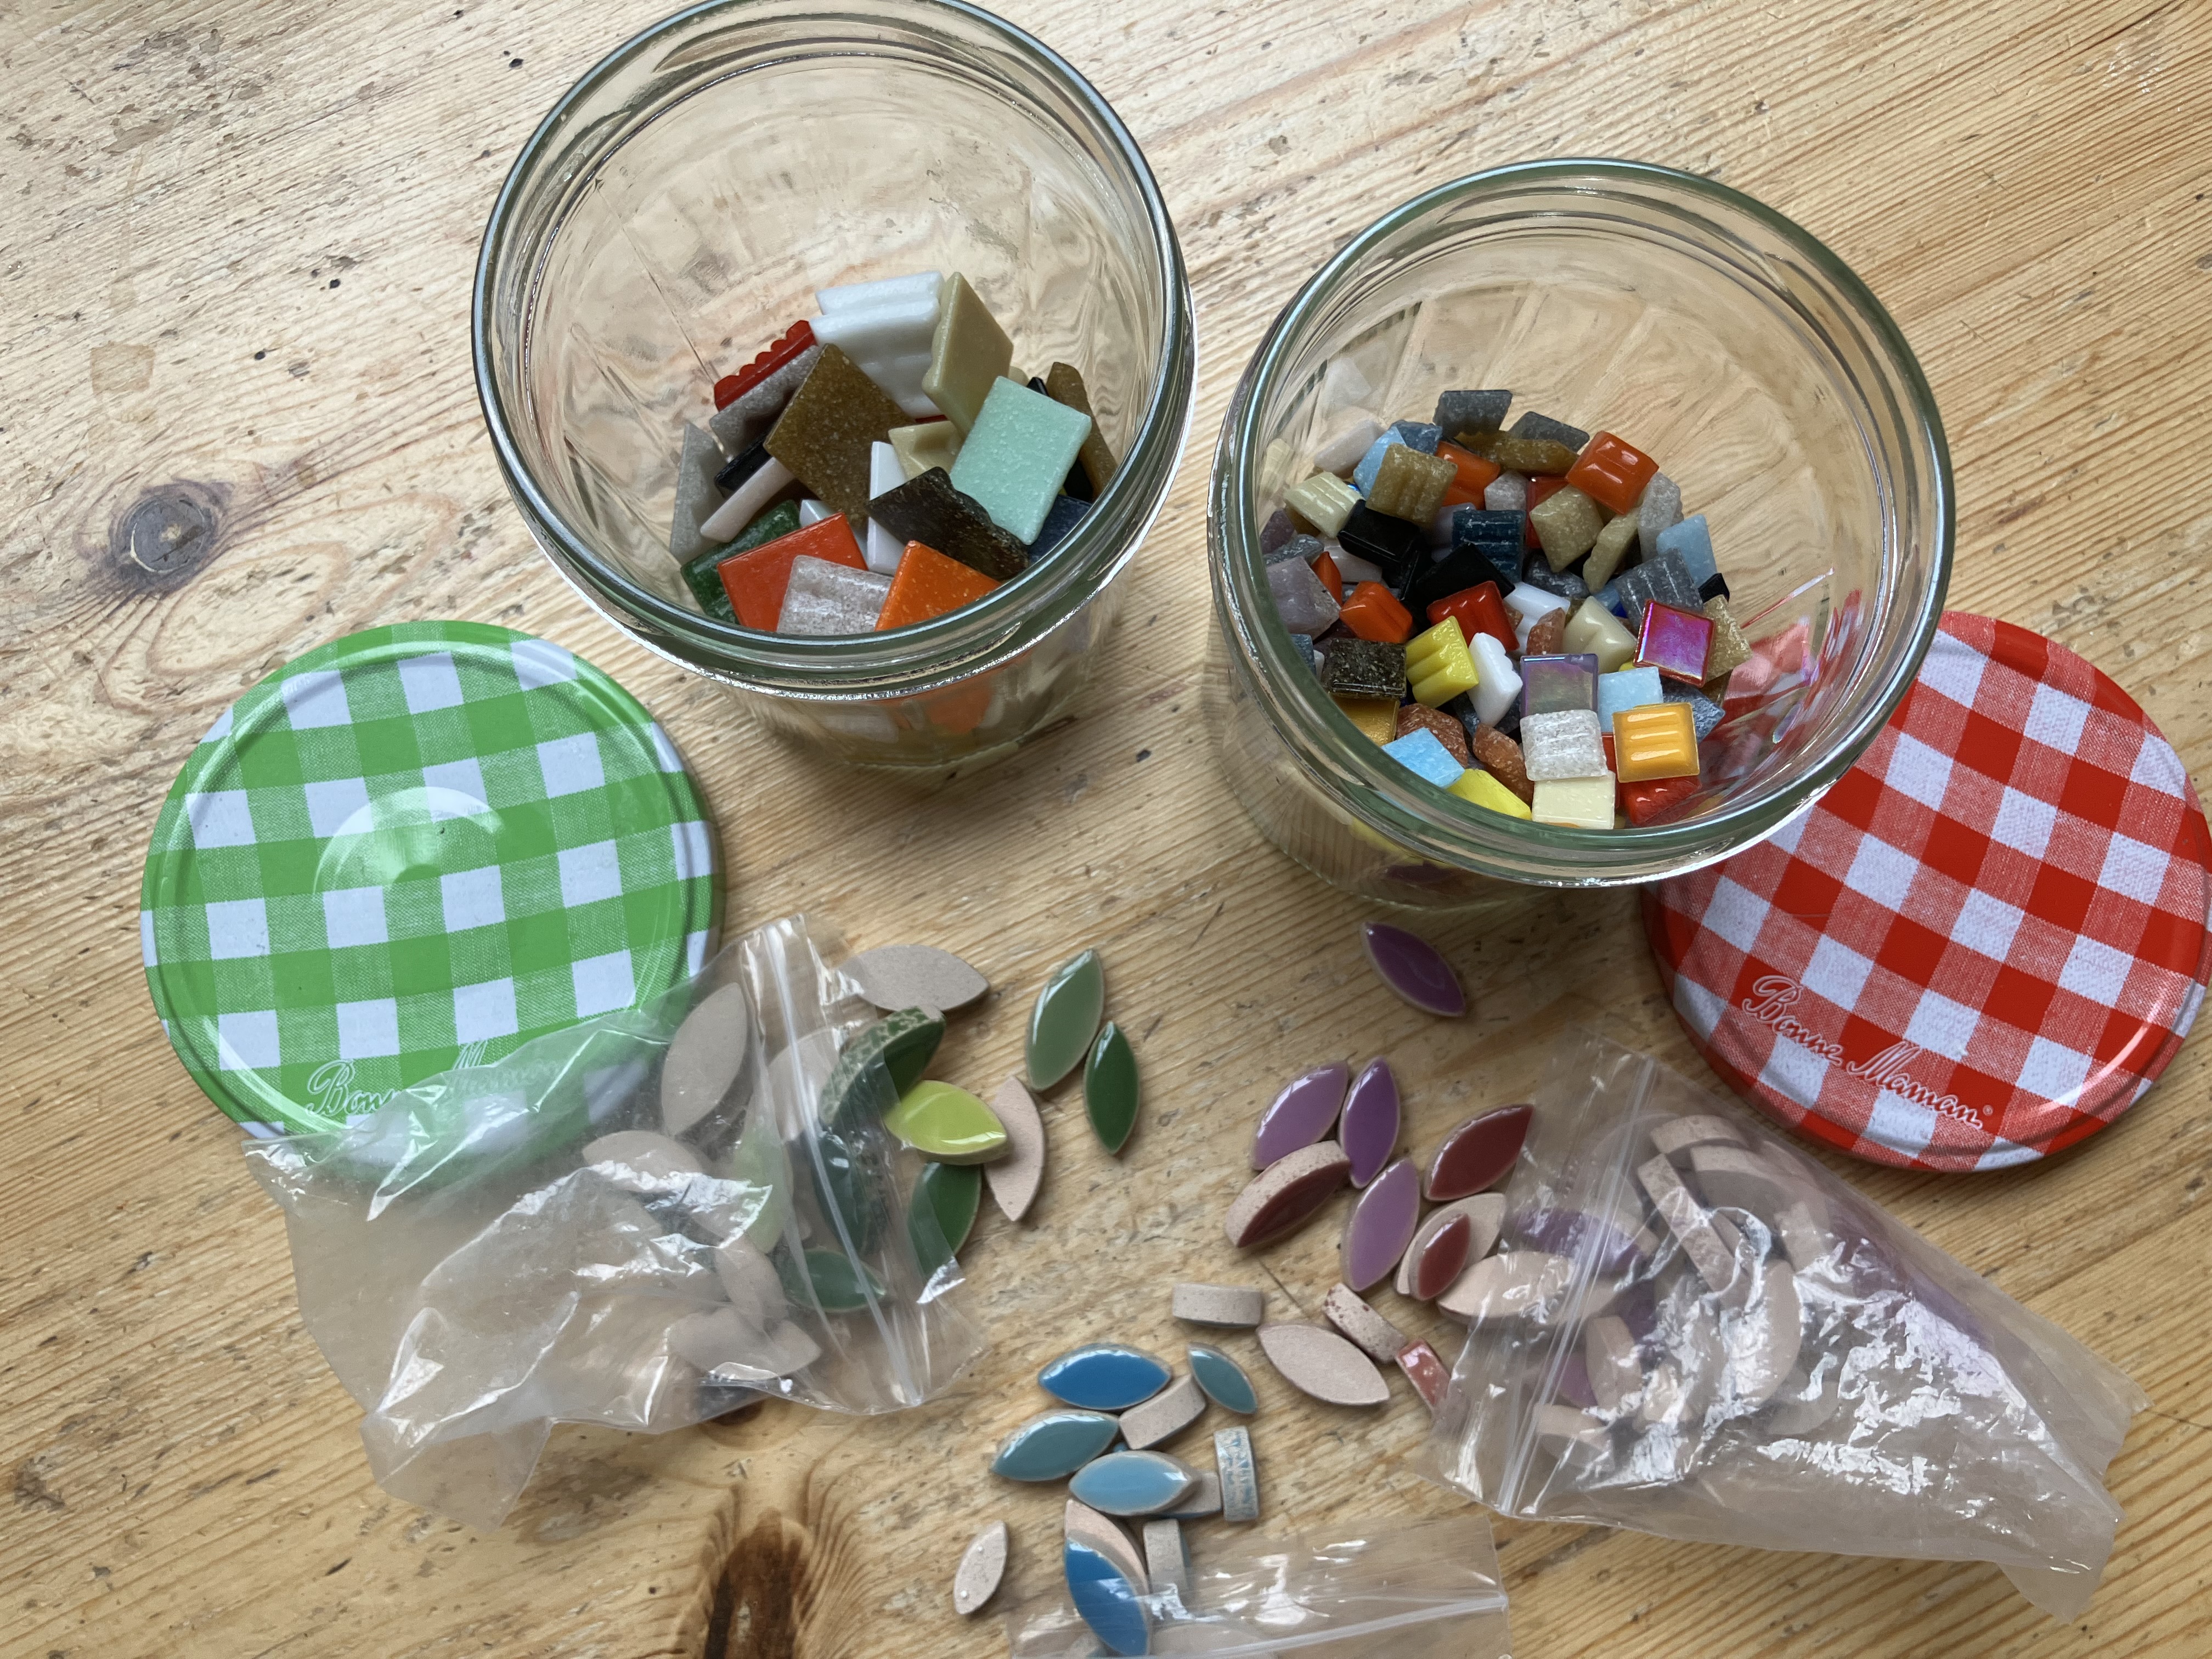
I love making mosaics (see here, here and here) and I love making mosaics in the better weather to display in my garden.  

But with summer here, my mosaic mojo was in the basement.  Several times I'd got my materials out only to pack them away shortly after as I struggled to decide what to make.

It was while watching something else craft related on YouTube that this video popped up as suggested viewing for me - and I'm so glad it did!

Make a mosaic bird bath - simple, easy no cut project for beginners

In just 12 minutes of video magic, mosaic artist Helen Miles, makes a birdbath.  The perfect quick and easy project to get me back on track.  And the best bit?  I already had all the tiles Helen used in my craft stash.  

I couldn't believe that I had (almost) everything I needed.  Just the saucer to get.  Fired up with a new enthusiasm to make a mosaic, I bought a frost-proof terracotta plant saucer at the garden centre and got to work.  

Initially, I simply copied Helen's design but I didn't like my arrangement of broken pottery so I substituted some shaped tiles and glass cabochons instead.

After faffing about with the layout, I painted the saucer with a dilute PVA coating and prepared to get sticking.  My 'X' marks the spot middle isn't very central but no matter, mosaic is a very forgiving craft!

The next bit of prep was to back the transparent glass cabochons with silver tape so the cement won't show through.


I'd some feline 'help' from Spangle the kitten, keeping his eye on proceedings as I stuck the tiles in place with waterproof cement.


Finally, I added the petals and glass pebbles and left it to dry completely.  Very quick.  Very satisfying.


Two days later I prepared the waterproof grout for my cemented mosaic.  


As I've mentioned in previous mosaic blog posts, grouting is a messy business.  Between daubing on the grout and cleaning it all off, I took no other photos.  You have to work pretty quickly and I didn't want to keep taking my gloves on and off.  No-one wants a grouty phone!


Polishing the tiles with a soft cloth brings the mosaic to life.  Incredibly satisfying!


When filled with water, the colours in the birdbath sparkle and shine.

I'm so glad I saw Helen's video tutorial which reignited my enthusiasm for mosaic making.  

I've a feeling this won't be the last birdbath I make either!


Helen Miles beautiful mosaic artistry can be seen here
Her many helpful YouTube tutorials can be accessed here


Share:

Saturday, 31 May 2025

My Very Own Yarn Shop!

Am I the only one who believes I'm a pottery expert based simply on the number of episodes of The Great Pottery Throw Down I've watched?   Terms like sprigging, coiling and raku firing just trip off my tongue!

Putting my armchair know-how into practice, I joined a ceramic clay hand-building workshop at Elevate: The Space in Stonehaven in February.  What a light, bright spacious studio to work in with a very warm welcome from Creative Director, Kate, who kept us well supplied with refreshments.


Workshop tutor, Helen, who's appropriately named business is Far From Dull Ceramics, knew arming beginners with wet clay could be challenging.  We started the day making toadstools to give us some hands-on experience of the raw material most potters use.  Mine stood up at least but were trickier to fashion than you'd imagine for their diminutive size!


Helen then handed us each a piece of leather-hard clay.  Though partially dried, it's much easier to manipulate.  You can see what we're going to be making just in front of my coffee mug.


There were lots of tools on offer to make a range of marks, textures and shapes on the clay and we were encouraged to experiment and try everything out.  As well as classic modelling tools, some impressions were made with old computer parts!


With this confidence building practice under our belts, we set about the business of the day - to make a wee hoose.  Helen is well known for her whimsical pottery and I'd seen her wee hooses at local fairs.  What fun to be able to make one of my own!

Helen cut us each a piece of extruded clay, according to our desired house height, and demonstrated how to shape the gable ends.


Then it was time to add all that lovely decoration we'd practised.  

This was so absorbing that I hardly took any photos.  By the time I did, I'd added a doorstep, fashioned a 'cat' to sit on it, textured the walls, cut out the windows and stamped some flowers to grow up the back wall.  I got carried away when I found a set of alphabet stamps and made a sign to go above the door.  Before I knew it, I'd created the happy place of my dreams - my very own yarn shop!


Helen offered us a selection of pre-prepared patterned sheets so we could make our rooves.  I chose to curl mine like an oriental pagoda once I'd secured it in place, created the roof ridge and added a chimney.  We also discussed what colour glaze we might like as Helen would add that to our wee hooses during the firing process.  I chose turquoise.


Once construction was complete, this most enjoyable workshop was at an end.  

Helen Timperley of Far from Dull Ceramics

With Helen's colourfully glazed examples for inspiration, everyone made a wee hoose very personal to them.

-------------------------------------------------------------------------------

A short while passed and I heard that I could collect my wee hoose from Helen as firing was complete.  I was so excited to see the finished result.


I'll never own a yarn shop - but this is the next best thing I reckon!


You can find Helen here:

Keep up with the latest workshop news at Elevate: The Space


Share:
© Never At A Loose End | All rights reserved.
Blogger Template Designed by pipdig