Monday, 30 June 2025

My Mosaic Mojo Is No Longer Missing

I love making mosaics (see here, here and here) and I love making mosaics in the better weather to display in my garden.  

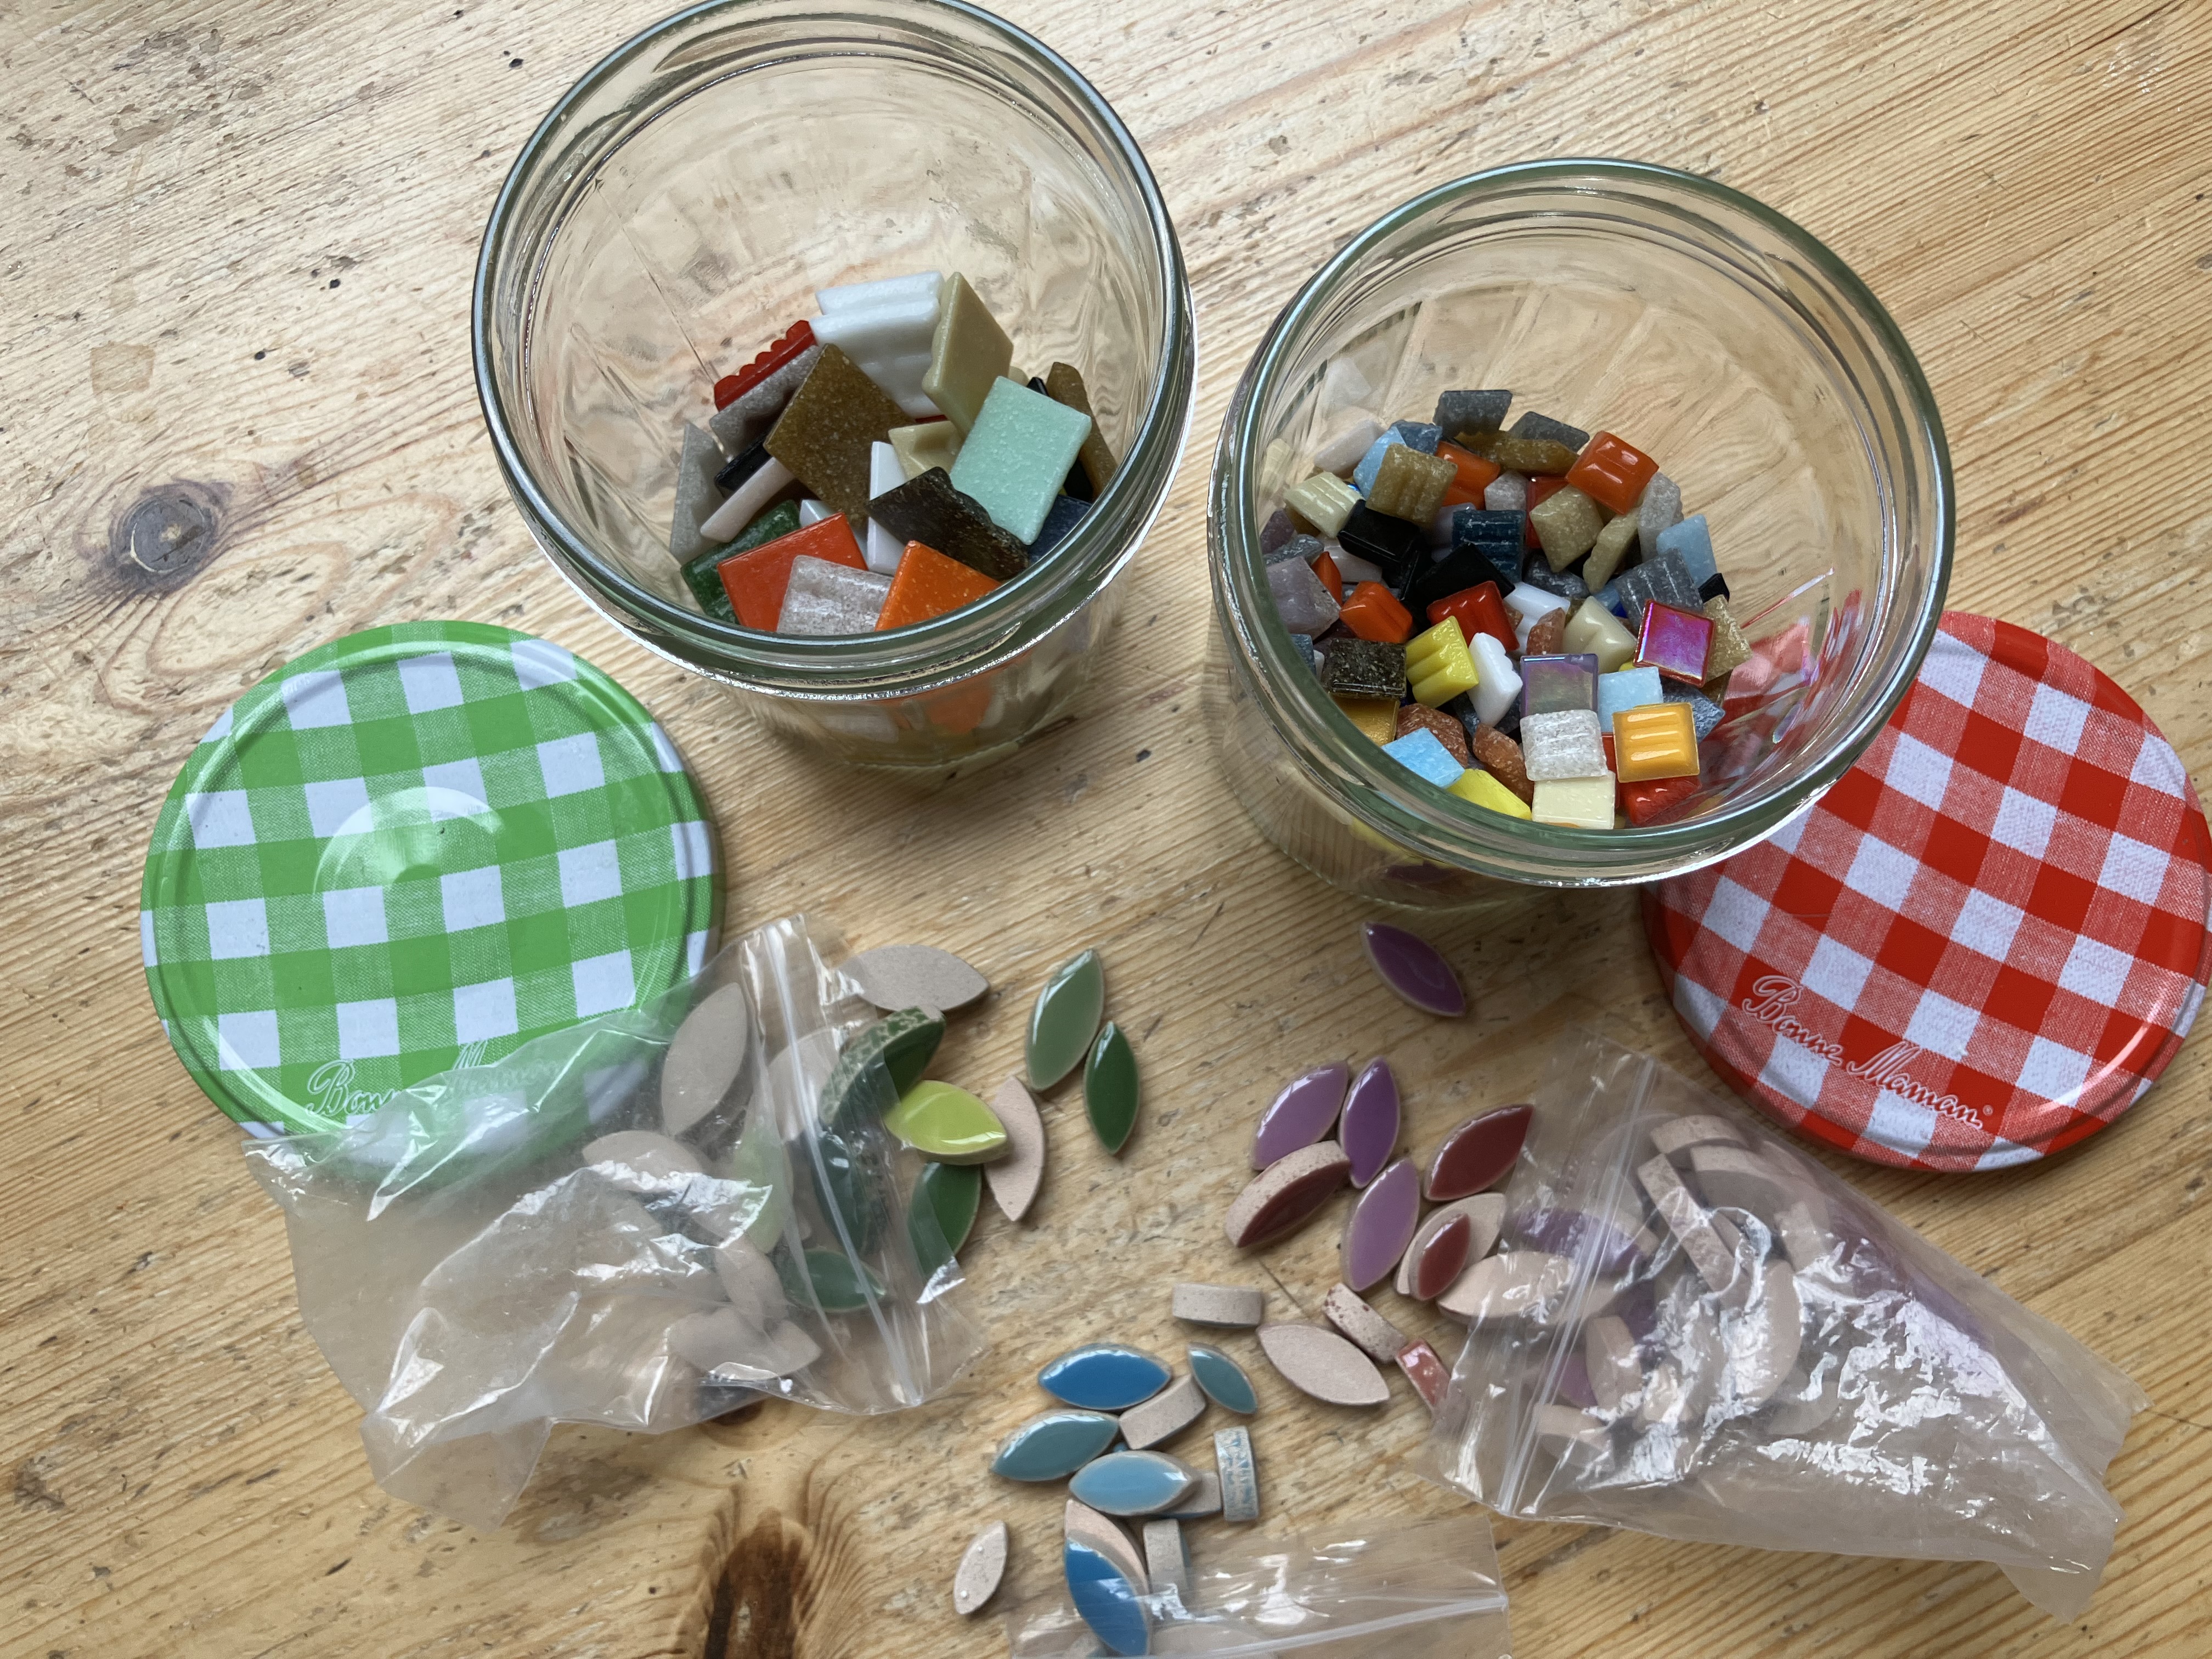
But with summer here, my mosaic mojo was in the basement.  Several times I'd got my materials out only to pack them away shortly after as I struggled to decide what to make.

It was while watching something else craft related on YouTube that this video popped up as suggested viewing for me - and I'm so glad it did!

Make a mosaic bird bath - simple, easy no cut project for beginners

In just 12 minutes of video magic, mosaic artist Helen Miles, makes a birdbath.  The perfect quick and easy project to get me back on track.  And the best bit?  I already had all the tiles Helen used in my craft stash.  

I couldn't believe that I had (almost) everything I needed.  Just the saucer to get.  Fired up with a new enthusiasm to make a mosaic, I bought a frost-proof terracotta plant saucer at the garden centre and got to work.  

Initially, I simply copied Helen's design but I didn't like my arrangement of broken pottery so I substituted some shaped tiles and glass cabochons instead.

After faffing about with the layout, I painted the saucer with a dilute PVA coating and prepared to get sticking.  My 'X' marks the spot middle isn't very central but no matter, mosaic is a very forgiving craft!

The next bit of prep was to back the transparent glass cabochons with silver tape so the cement won't show through.


I'd some feline 'help' from Spangle the kitten, keeping his eye on proceedings as I stuck the tiles in place with waterproof cement.


Finally, I added the petals and glass pebbles and left it to dry completely.  Very quick.  Very satisfying.


Two days later I prepared the waterproof grout for my cemented mosaic.  


As I've mentioned in previous mosaic blog posts, grouting is a messy business.  Between daubing on the grout and cleaning it all off, I took no other photos.  You have to work pretty quickly and I didn't want to keep taking my gloves on and off.  No-one wants a grouty phone!


Polishing the tiles with a soft cloth brings the mosaic to life.  Incredibly satisfying!


When filled with water, the colours in the birdbath sparkle and shine.

I'm so glad I saw Helen's video tutorial which reignited my enthusiasm for mosaic making.  

I've a feeling this won't be the last birdbath I make either!


Helen Miles beautiful mosaic artistry can be seen here
Her many helpful YouTube tutorials can be accessed here


Share:

Saturday, 31 May 2025

My Very Own Yarn Shop!

Am I the only one who believes I'm a pottery expert based simply on the number of episodes of The Great Pottery Throw Down I've watched?   Terms like sprigging, coiling and raku firing just trip off my tongue!

Putting my armchair know-how into practice, I joined a ceramic clay hand-building workshop at Elevate: The Space in Stonehaven in February.  What a light, bright spacious studio to work in with a very warm welcome from Creative Director, Kate, who kept us well supplied with refreshments.


Workshop tutor, Helen, who's appropriately named business is Far From Dull Ceramics, knew arming beginners with wet clay could be challenging.  We started the day making toadstools to give us some hands-on experience of the raw material most potters use.  Mine stood up at least but were trickier to fashion than you'd imagine for their diminutive size!


Helen then handed us each a piece of leather-hard clay.  Though partially dried, it's much easier to manipulate.  You can see what we're going to be making just in front of my coffee mug.


There were lots of tools on offer to make a range of marks, textures and shapes on the clay and we were encouraged to experiment and try everything out.  As well as classic modelling tools, some impressions were made with old computer parts!


With this confidence building practice under our belts, we set about the business of the day - to make a wee hoose.  Helen is well known for her whimsical pottery and I'd seen her wee hooses at local fairs.  What fun to be able to make one of my own!

Helen cut us each a piece of extruded clay, according to our desired house height, and demonstrated how to shape the gable ends.


Then it was time to add all that lovely decoration we'd practised.  

This was so absorbing that I hardly took any photos.  By the time I did, I'd added a doorstep, fashioned a 'cat' to sit on it, textured the walls, cut out the windows and stamped some flowers to grow up the back wall.  I got carried away when I found a set of alphabet stamps and made a sign to go above the door.  Before I knew it, I'd created the happy place of my dreams - my very own yarn shop!


Helen offered us a selection of pre-prepared patterned sheets so we could make our rooves.  I chose to curl mine like an oriental pagoda once I'd secured it in place, created the roof ridge and added a chimney.  We also discussed what colour glaze we might like as Helen would add that to our wee hooses during the firing process.  I chose turquoise.


Once construction was complete, this most enjoyable workshop was at an end.  

Helen Timperley of Far from Dull Ceramics

With Helen's colourfully glazed examples for inspiration, everyone made a wee hoose very personal to them.

-------------------------------------------------------------------------------

A short while passed and I heard that I could collect my wee hoose from Helen as firing was complete.  I was so excited to see the finished result.


I'll never own a yarn shop - but this is the next best thing I reckon!


You can find Helen here:

Keep up with the latest workshop news at Elevate: The Space


Share:

Friday, 21 March 2025

Using Every Last Scrap Matters

Cast your mind back to January 2024.  

I'd finally completed a crochet project of epic proportions and celebrated by prancing round the garden in the snow!  You can read all about it here.

The Leaves and Lace Blanket pattern by Haafner Linssen
After crocheting 27 hexagon motifs and 18 half hexagons of Scheepjes XL cotton/acrylic yarn, then joining them all together, I was left with these little nubbins of each colour.


Such a colourful bowl of leftovers deserved to be made into something.  

I consulted this book at my local library and pored over the beautiful crochet patterns.

After settling on the Hexagon Daisy Bathmat (pictured right) from Susan Pinner's enticingly colourful book, I proceeded to inadvertently ignore the pattern and go my own sweet way.  


My hexagon motifs don't quite look like the ones in Susan's bathmat.

Undeterred, I ploughed on regardless and made even more motifs.  I crocheted in spare moments between other projects, even crocheting in the car whilst waiting for something or someone.


To even out their wibbly edges, I dampened the hexagons and pinned them into shape.


When I'd made as many motifs as the leftovers would allow, I arranged them into a pleasing pattern.


The irony of wanting to use up as much leftover yarn as possible is having to buy more yarn to finish a project meant to be made entirely from leftovers!  

So I found myself back at my favourite yarn shop purchasing more Scheepjes XL to join the motifs together.  I chose this vibrant peridot shade to coordinate with our bathroom flooring. 


I started this project on 21st January 2024 and crocheted with great enthusiasm and enjoyment, probably working on it most days over the course of  the following month.  The end was in sight as one motif was crocheted to its neighbour and the individual components began to resemble a bathmat.

Then I hit a snag.  And all progress stopped.  And I didn't touch it... for... a... whole... year.

Just like that, I'd fallen out of love with it.
....______________...

Fast forward to March 2025, I began to crochet a blanket for my niece.   
But knew in my heart I should really finish the bathmat first.


I finally took time to examine the sticking point - a red motif with one side which I hadn't been able to join up to the one next to it.  I realised I'd made a mistake.  As is usually the case, the solution was quick and  simple and I unravelled the red row and re-made the motif, correctly this time, enabling it to match up to its neighbour.


After that I was on a roll.  In just under two weeks, all the hexagons were joined together.

Pinning out the dampened mat again helped smooth out its wiggly edges.


Just as my bathmat was reaching completion, we decided to change the flooring in the bathroom!  


The flooring on the left had been in place since 2008 when we extended our home, and it was time for a re-fresh.  We both loved the citrus vinyl chosen by our daughters all those years ago when they got their very own bathroom in the extension.  It's a small room with plain white walls so we chose to update it with an equally colourful replacement!  

I hope the girls will love it when they come home to visit.


Here's my use-every-scrap bathmat in situ.


Fabulous new flooring from For The Floor And More


Share:

Friday, 28 February 2025

A Delightful Shop and a Delightful Workshop

I love any excuse to visit Jane Keenan's shop!

It's a hidden gem, tucked away in the quaint and quiet village of Maud, nestled in the Buchan countryside, a pleasant half hour drive north of my Aberdeenshire home.

It's packed with gifts, jewellery and homewares.  

If I need to buy a present, I know exactly where to go.

Jane trained as a textile designer and her screen printed artworks grace her lampshades and cushions making the shop colourful and joyous.  Framed screen prints also adorn the walls.

Fragrance abounds in the hand poured candles and diffusers Jane makes, along with the hand creams she creates, all beautifully packaged with her graphic signature branding.

As if this wasn't enough to hasten your visit, the shop is also a stockist for Frenchic Paint, an environmentally friendly chalk and mineral paint, ideal for upcycling furniture with minimal prep.  Ideal for a beginner like me!


With a studio upstairs, the shop is also an ideal venue for classes and workshops.  

Earlier this month, I attended a very pleasant morning of painting and decoupage along with five other ladies, each of us decorating a three drawer, desk-top unit.  We began by sanding the existing surface to provide a key for the paint which can be applied directly with no need for undercoat.


Choosing a paint colour was fun!  I went for the rich, deep blue green, Steel Teal.


Several coats were required to give good coverage.  Luckily the paint dried pretty quickly.

The only photo I have of Jane herself!
In between coats, we all choose a coordinating decoupage paper from the gorgeous array on offer.

Jane's easy-to-use templates allowed me to accurately cut my drawer fronts from the multicoloured dotty tissue paper I'd picked.


Once the drawer fronts received a lick of neutral surface coat, I applied the decoupage paper with Mod Podge, a versatile adhesive, sealant and varnish.  I also painted my drawer handles with Plum Pudding paint.


To speed up drying, the drawer fronts enjoyed a wee toast in front of the heater!


Then all that remained was to varnish the outer cabinet and touch up any bits I'd missed.


Here's the final reveal of my completed cabinet -


And a photo op of all the finished cabinets produced that day.  Aren't they lovely?


This certainly won't be my last time using Frenchic Paint, or trying decoupage, thanks to Jane's encouragement and her very enjoyable and welcoming workshop.

I'm thrilled with my little cabinet and can't wait to fill it up!


Find out more, and visit Jane Keenan Design for yourself or browse her online shop.


Share:
© Never At A Loose End | All rights reserved.
Blogger Template Designed by pipdig